


| Material | Heavy Duty Durable Hard Plastic |
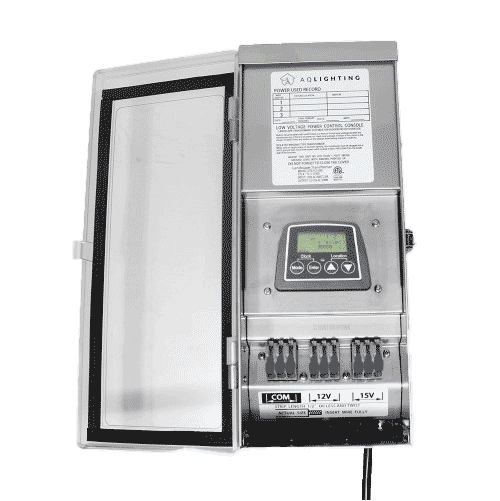
| Input Voltage | 120V 60Hz |
| Output Voltage | 15V DC |
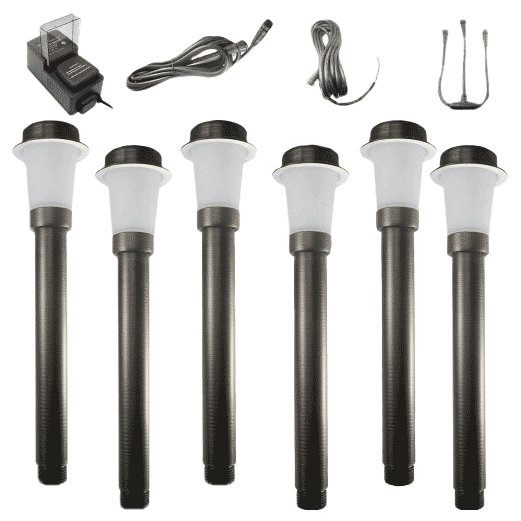
| Power Draw | 2.6w per Puck (13w Total) |
| Light Output | 125 Lumens per Puck (625 Lumens Total) |
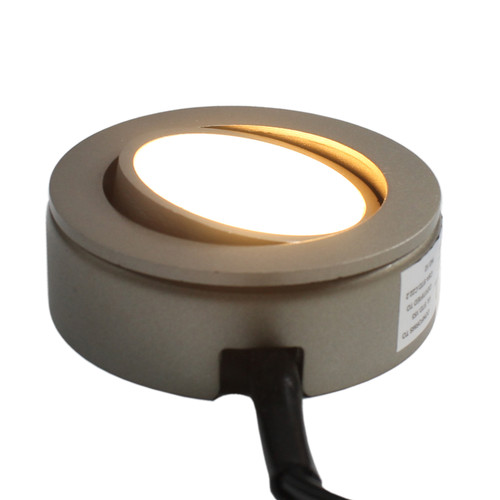
| Color Temperature | Warm White (3000K) |
| CRI | ~80 |
| Dimmable Range | 10-100% |
| Rated Lifetime | 30,000 Hours |
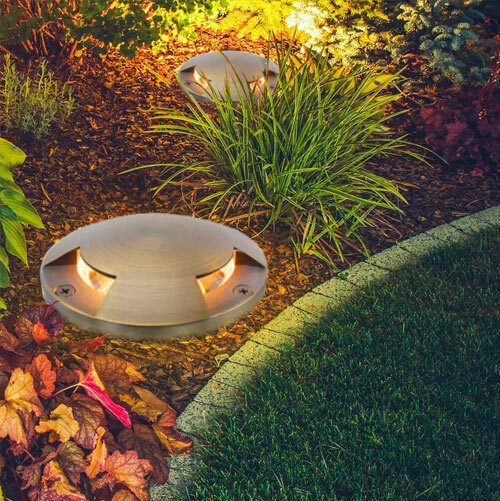
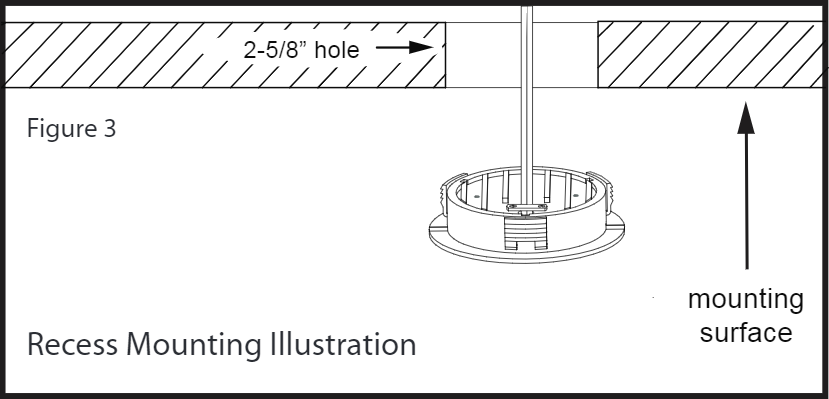
| Mounting | Surface / Recessed |
| Dimensions | 2.9375" Diameter X 0.875" Height |
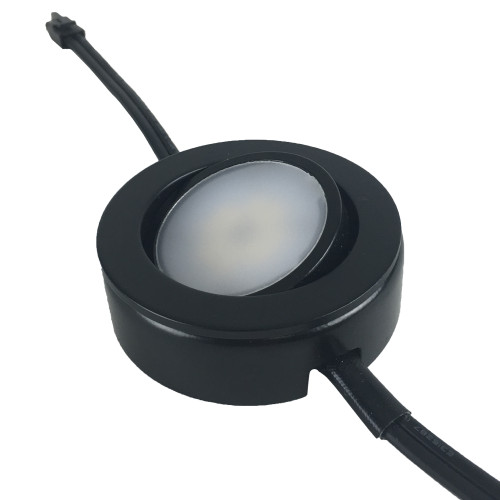
| Wiring Lengths | 60" Lead on Puck / 58" Lead on Dimmer / 72" Power Cord |
Product Dimensions

Installation Instructions
 Install Instruction Download
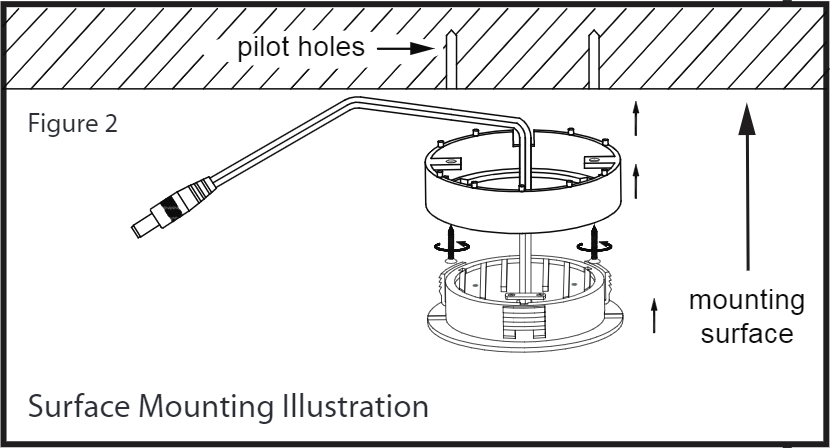
SURFACE MOUNTING
Step 1:
Remove the surface ring by holding the surface ring with your fingers and pushing the puck out from the back using your thumbs on the back of the puck light. Alternatively, you can locate the line where the surface ring and LED Puck Light meet and carefully use a !at screwdriver to separate the two parts.
Step 2:
Determine desired locations for each puck and mark the locations of the mounting holes on the mounting surface, using the surface ring as a template. Note: Each puck light has afive foot lead wire which needs to be routed to the power connection hub. Be sure to locate the puck lights and power hub such that each puck can reach a port.
Step 3:
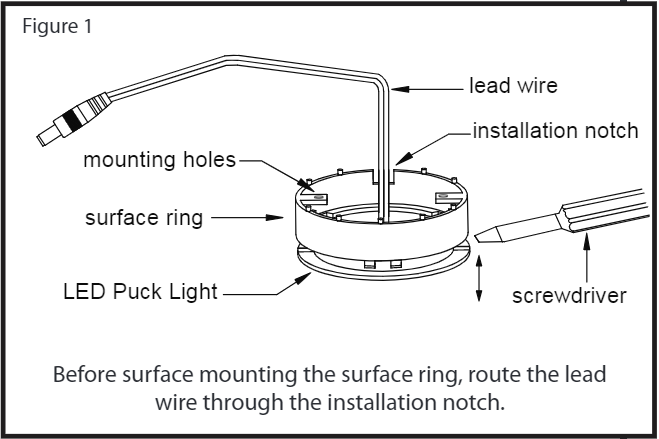
Before surface mounting the puck light’s surfacering, route the lead wire through the installation notch. Drill 1/8” pilot holes into the mountingsurface where marked, and secure surface ring to mounting surface using mounting screws included.
Step 4:
Gently push the puck light into the surface ring until it is fully seated, making sure that the lead wire is notpinched or crimped in any way.
Step 5:
See POWER CONNECTION on reverse for next steps.
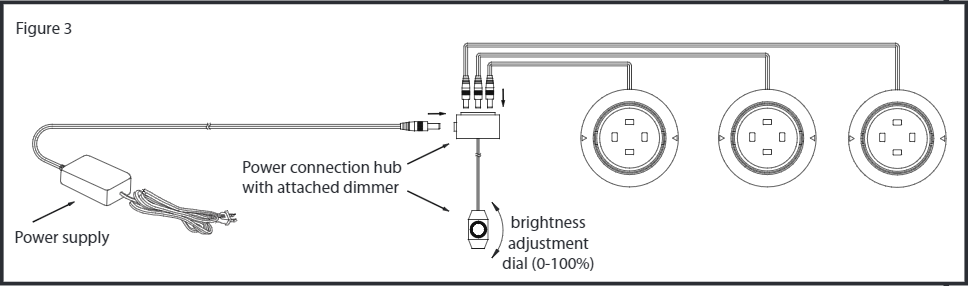
POWER CONNECTION
Step 1:
Determine best location for the power connection hub with attached dimmer, considering that the five foot lead wire from each puck will need to reach to a port.
Step 2:
Install the power hub connection using the mounting screws included. Route each of the lead wires from the puck lights to an available port.
Step 3:
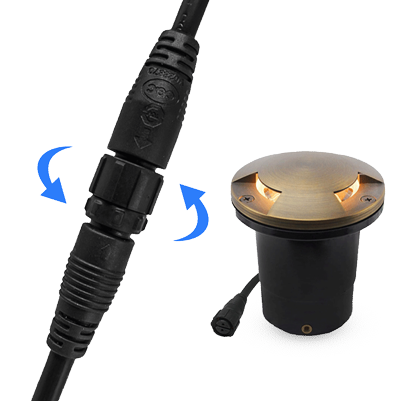
Connect the power supply’s connector to the power connection hub as shown in Figure 3 below and plug in power supply to a 120V AC wall outlet (receptacle).
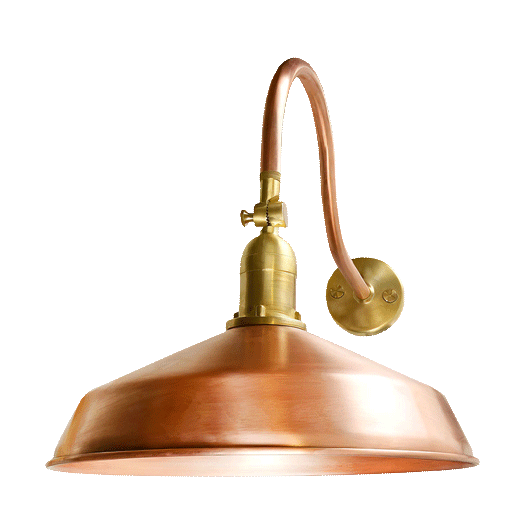
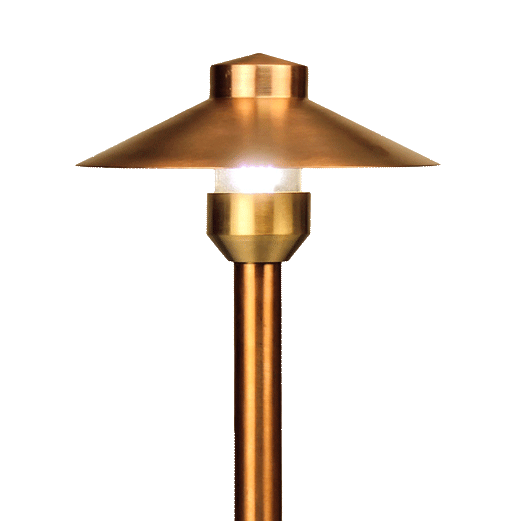
Customer Submitted Photos
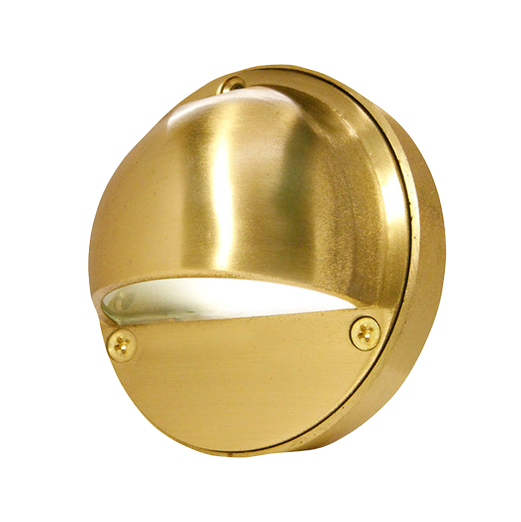
This customer creatively installed the LVP puck light into homemade wall sconces.

Illuminate every space with confidence and style
The Reliable Partner For All Your Lighting Needs.
+40 Year Experience
With over 40 years of lighting expertise, we focus in providing the best customer experience and great quality products
Shipping & Quickship
Free Shipping on items over $100 and Quickship for selected items placed by 1pm PST ship same day.
Stress Free & Easy Returns
We provide a 30-day, stress free return and exchange policy on the majority of our products