How Far Apart Should Pathway Lights Be? A Practical Layout Guide
AQ Lighting Sep 28th 2026
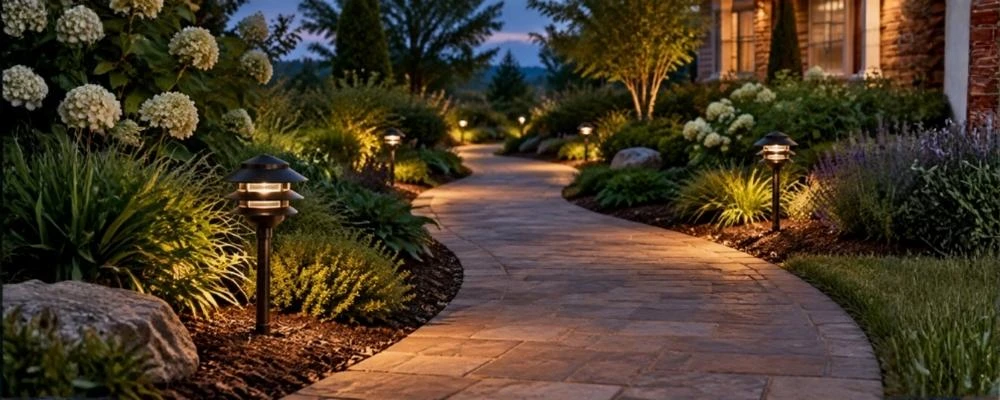
For many residential walkways, 6 to 10 feet apart is a useful starting range for pathway lights. It is not a fixed rule: fixture height, light distribution, path width, nearby lighting and the layout of the property all affect spacing. The best way to plan is to sketch the walkway, position lights around turns and steps, and test the layout after dark.
Placing pathway lights too far apart can leave dark sections between fixtures. Placing them too close together may make a path look crowded or brighter than it needs to be. A balanced layout guides people along the walkway while keeping the light comfortable to look at.
What Does Pathway Light Spacing Mean?
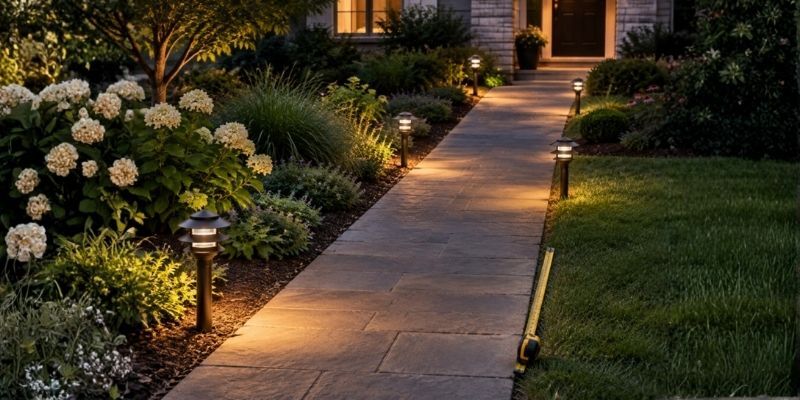
Spacing usually means the distance from one fixture to the next, measured along the route of the walkway. It does not mean the distance across the path. On many residential paths, fixtures are staggered on alternating sides instead of set directly opposite each other. This can create a more natural layout and avoid the appearance of two straight rows.
Distance alone does not determine how much of the walkway a fixture illuminates. Two lights set 8 feet apart may produce very different results depending on their height, beam distribution, output and position. Trees, shrubs, walls and changes in elevation can also affect where light falls.
Before selecting fixtures, measure the actual path. For a curved walkway, measure along its centerline and mark bends, steps, gates and changes in grade. A turn may need a light near the curve so visitors can see where the route goes. A straight, open section may need fewer fixtures than a narrow walkway bordered by dense plants.
Use 6 to 10 Feet as a Starting Point
For an initial plan, mark fixture positions approximately 6 to 10 feet apart. Consider shorter intervals where fixtures are low, the path is narrow, or a turn or step needs clearer visibility. Wider intervals may work with fixtures that distribute light across a larger area, or where existing porch or landscape lights already illuminate part of the route.
This range is a starting point rather than a guarantee of even illumination. A product’s light distribution, the surface color, planting and surrounding light sources all affect the finished result. A dark paver walkway, for example, may look different from a pale concrete path under the same fixtures.
If possible, temporarily position a few lights at the planned intervals and check the walkway after dark. Walk the route from both directions. Look for obvious gaps, overly bright pools and light that shines toward someone’s eyes. Adjust fixture positions before final installation if the layout feels uneven.
How to Estimate the Number of Pathway Lights
A simple estimate can help with planning and budgeting:
- Measure the walkway along its route.
- Choose a preliminary spacing, such as 8 feet.
- Divide the walkway length by that spacing to estimate the intervals.
- Add fixtures at important locations, such as entrances, steps and turns.
For example, a straight 40-foot walkway with lights planned about 8 feet apart has five intervals. If you place a fixture at both ends, that would mean approximately six fixture positions. The final count may differ if existing lighting covers part of the route or the walkway includes a bend or step.
For winding paths, place lights at turns and level changes first. Then add fixtures along longer sections where the light plan needs them. This is usually more useful than dividing the entire path into equal distances without accounting for how people move through it.
Place Fixtures for Comfortable Visibility
Aim pathway lighting toward the walking surface where the fixture design allows. A shielded or hooded light can help keep its brightest point out of direct view. Avoid positioning fixtures where the beam shines across the walkway at eye level, especially if people approach from both directions.
Keep each fixture far enough from the walkway edge that it does not become an obstacle. At the same time, place it close enough for the light to reach the walking area. The best offset depends on the fixture’s size, the width of the path and the nearby planting bed.
Pay special attention to steps, slopes and landings. Mark the top and bottom of stair runs and any sudden changes in height. Select and position fixtures suitable for those locations, and follow applicable installation requirements. Pathway lights can help improve visibility, but do not assume they replace lighting required for stairs or handrails.
Consider Trees, Plants and Existing Lights
Plants change as they grow. A fixture that illuminates a path clearly today could become blocked by shrubs later. Avoid placing pathway lights where foliage, mulch or fallen leaves will cover the light source. Leave room to clean and maintain fixtures.
Check nearby porch lights, garage lights, wall lights and street lighting before adding new fixtures. Existing light may already cover part of the walkway. It can also create glare or shadows if the new pathway lights are aimed without considering it. Test the proposed layout with the other lights switched on so you can see how the full outdoor lighting plan works together.
A walkway does not need a fixture at every point to feel guided. Use pathway lights for movement and visibility, then consider a smaller number of accent lights for trees or architectural details. Different fixture types can add depth without making the entire yard equally bright.
Choose the Fixture Before Finalizing Spacing
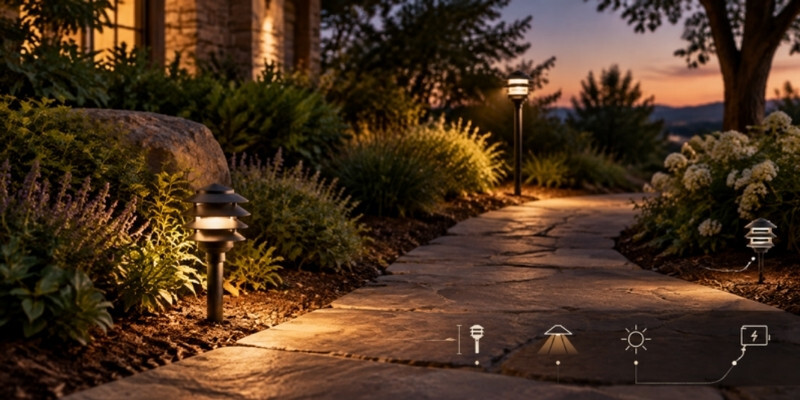
Compare fixture height, light distribution, output, materials and intended use before confirming the layout. A low-profile fixture may suit a subtle garden path, while a taller area light may distribute light across a wider space. Solar and low-voltage fixtures also have different requirements. Solar performance depends on the selected product and its charging conditions; a low-voltage system requires compatible components and an appropriate transformer.
Do not choose spacing based only on lumens. Lumens measure the total light output, but they do not show exactly where the light will fall or whether the fixture could cause glare. Review the manufacturer’s placement recommendations and available distribution information, then test the arrangement when possible.
For a low-voltage system, plan the transformer, connected load and cable route according to the product specifications. Long cable runs and connected wattage can affect system performance. For line-voltage work or more complex outdoor installations, use a qualified professional and follow local electrical requirements.
Pathway Light Planning Checklist
Before ordering, confirm:
- The measured path length, width, turns, steps and slopes.
- A preliminary spacing, starting around 6 to 10 feet where appropriate.
- Fixture height, distribution, output and shielding.
- Existing lights and nearby plants that may affect illumination.
- The fixture’s position beside the walkway and exposure to maintenance equipment.
- Manufacturer guidance for spacing and installation.
- Transformer and wiring requirements for low-voltage systems.
- A nighttime test from both directions before final placement.
Pathway lights work best when they guide people comfortably and feel like part of the landscape. Start with a 6-to-10-foot spacing plan, adjust for the fixture and property, and give turns and steps special attention. Testing the arrangement at night can help reveal glare or gaps before the layout is finalized.
FAQs
➜ How far apart should pathway lights be placed?
A range of about 6 to 10 feet is a practical starting point for many residential paths. Adjust the spacing for fixture height, light distribution, path layout and existing light sources.
➜ Does fixture height change how far apart pathway lights go?
Yes. A taller fixture or one with broader light distribution may illuminate a wider area than a low-profile fixture. Check the manufacturer’s placement guidance, then test the planned positions after dark to see whether the path has dark gaps or uncomfortable bright spots.
➜ Should pathway lights be placed on both sides of a walkway?
They can be placed on both sides, but staggering them is often a useful option. It can guide people along the path without creating two rigid, directly opposite rows.
➜ Should narrow walkways use closer-spaced pathway lights?
They may, depending on the fixture and surrounding light. A narrow path, dense planting, or limited light spread can make gaps more noticeable. Test a few fixtures in the planned locations and adjust their spacing based on the walkway’s visibility and comfort.
➜ How many pathway lights do I need for a 40-foot path?
At roughly 8-foot intervals, a straight 40-foot path may have about five intervals. If you place a fixture at both ends, that is approximately six positions. Turns, entrances, steps and existing lights can change the final number
➜ How can I test pathway light spacing before installation?
Temporarily position the fixtures at your planned intervals and switch them on after dark. Walk the path from both directions, paying attention to turns, steps, dark gaps, and glare. Adjust the positions before completing the installation.