Outdoor In-Ground Lighting Guide: Well Lights, Placement, Drainage and Beam Choice
AQ Lighting Oct 9th 2026
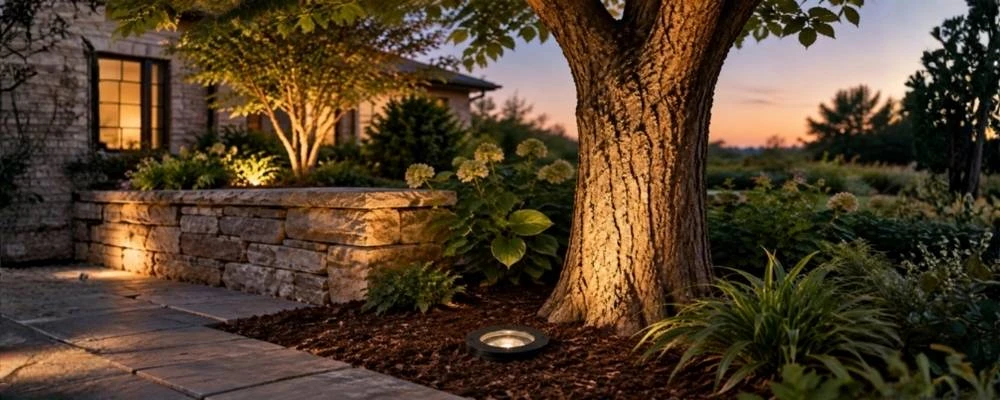
Outdoor in-ground lighting uses recessed fixtures installed at or near ground level to direct light upward. These fixtures can highlight trees, walls, columns, sculptures and selected landscape details without placing a visible light above the ground.
“In-ground light” and “well light” are often used to describe the same general fixture type. A well light is typically a recessed landscape light installed in the ground; “in-ground” describes its mounting position. When choosing one, focus on what the fixture needs to illuminate, how water drains at the location, and whether people or vehicles may pass over it.
What Can Well Lights Illuminate?
A narrow beam can draw attention to a tree trunk or a particular architectural detail. A broader beam may work better across a wall, column or large planting. In-ground fixtures can also add visual depth along a courtyard or garden edge.
They are not automatically the right choice for every walkway. Because many well lights direct illumination upward, the beam may be uncomfortable if it shines into someone’s eyes. A fixture may also be obscured by plants, leaves or snow. Decide whether your project needs light on the walking surface, light on nearby features or both. For some layouts, in-ground accent lights work best alongside separate fixtures designed to illuminate the path.
Before choosing products, walk the area after dark when possible. Identify which features should stand out, where people need to walk and where a beam could spill toward windows, roads or neighboring properties. This helps determine where a well light can provide useful illumination without adding light everywhere.
Plan Placement Around the Target
Choose the feature to illuminate before choosing the fixture. For a tree, decide whether you want to reveal its trunk, canopy or overall shape. For a wall, consider its height and texture. For a column, decide whether the light should softly graze the surface or create a more noticeable highlight.
Next, consider where people will view the feature from: a front walk, driveway, patio, street or interior room. A fixture may look effective from one angle but create glare from another. Position it so the brightest part of the beam is not aimed directly toward common viewing areas. If the light will be near a window, check the beam direction from indoors as well as outside.
Avoid lighting every feature with equal brightness. A few illuminated focal points, balanced by darker areas, can create a more considered landscape. This also helps limit unwanted light outside the area you intend to illuminate.
Choose the Right Beam, Output and Color
Beam angle describes how broadly the light spreads. A narrower beam focuses illumination on a smaller area, which may suit a tall tree or a specific architectural detail. A wider beam can cover more of a wall, column or planting bed. Some AQ in-ground fixtures have interchangeable beam lenses; check the specifications for the exact model before choosing one.
Lumens describe the amount of light emitted, but a higher lumen number does not automatically mean a better result. The distance to the target, beam spread, fixture position, surface color and surrounding darkness all affect the appearance. Select output for the feature and avoid overpowering nearby areas. When the installation allows, test the fixture after dark before finalizing its position.
Color temperature also affects how the landscape looks. Warm white light often complements homes, brick and natural wood. A cooler appearance may suit some contemporary materials, but it can feel stark beside warm architectural lighting. Keep nearby fixtures coordinated unless a deliberate contrast is part of the design. For color-changing products, confirm that the fixture, lamp and controls are compatible.
Plan for Drainage
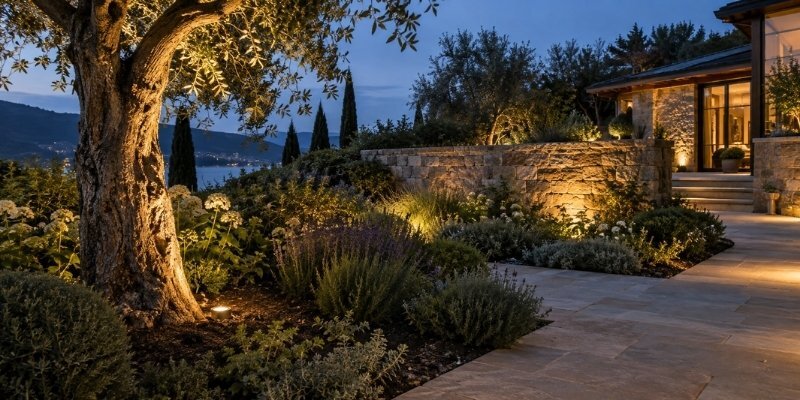
Drainage is one of the most important considerations for outdoor in-ground lighting. A fixture placed in a low spot may collect water, soil and debris. An outdoor-rated product can still be affected if the installation site keeps it submerged or prevents water from draining away.
Choose a location where the surrounding grade directs water away from the fixture. Avoid placing it at the bottom of a slope, where downspouts discharge or in a planting bed that routinely floods. Follow the manufacturer’s instructions for the housing, sleeve, wiring connections and drainage provisions. AQ’s instructions for certain well-light models specify that water must drain away from the fixture; check the manual for the exact product being installed.
Soil matters too. Dense clay, compacted ground or a high water table may make a location unsuitable without a professionally planned drainage solution. Adding gravel does not necessarily solve the problem if water has nowhere to drain. If water regularly stands in the proposed location, ask a qualified landscape-lighting professional to review the site before installation.
Match the Fixture to the Installation Site
Select a fixture for the conditions where it will be used. Review its stated rating, material, lens, finish, voltage and installation requirements. In coastal areas or places exposed to irrigation chemicals or de-icing salts, confirm that the material and finish are appropriate.
Consider what may pass over the fixture. A light designed for a planting bed may not be suitable for a driveway. If vehicles could drive over it, choose a product specifically rated for that use and install it as directed. Do not assume that a metal cover or sturdy appearance means a fixture is drive-over rated.
Check voltage compatibility too. Do not connect a low-voltage fixture to a line-voltage circuit or combine products unless their specifications allow it. A ground light located near a pond is not automatically a submersible fixture. For underwater use, select equipment identified by its manufacturer for that specific application.
Plan Power and Service Access
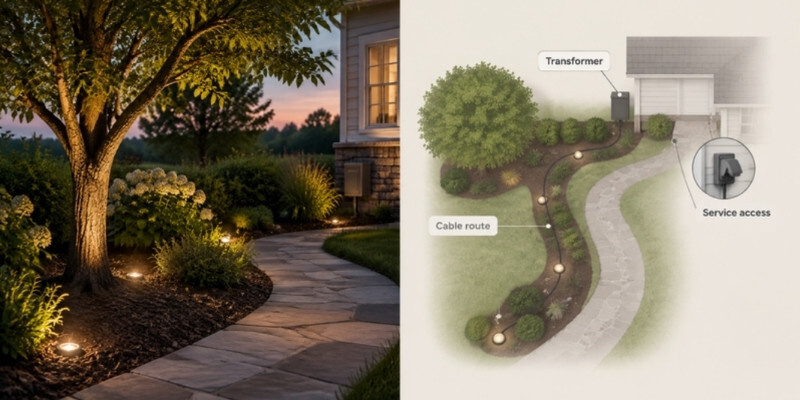
Before digging, map the fixture positions, cable routes and transformer location. For a low-voltage installation, account for the connected load, cable length and manufacturer’s wire-sizing guidance. Do not choose a transformer or wire size based only on the number of fixtures; the total load and layout matter.
Use compatible components and keep connections accessible where the installation instructions require it. Mark underground utilities before excavation. For line-voltage work, outdoor junctions or installations near water, use a qualified professional where required and follow local electrical rules.
Test each fixture after dark before backfilling or closing a hardscape opening. Look at the illuminated feature from several viewpoints. Check for glare and confirm that the beam lands on its target rather than a window or passing vehicle. A small position adjustment can noticeably improve the result.
In-Ground Light Selection Checklist
Before ordering, confirm:
- What feature the light should illuminate and where people will view it from.
- Whether a narrow or wide beam is appropriate.
- The output and color that suit the feature and nearby lighting.
- Whether water can drain away from the installation location.
- Foot-traffic, maintenance-equipment or vehicle-load requirements.
- Fixture material, finish, voltage and product rating.
- Transformer, wire, lamp and control compatibility.
- Access for cleaning, adjustment and future service.
- The manufacturer’s installation and safety instructions.
Outdoor in-ground lighting is most effective when it highlights selected landscape features and remains comfortable to view. Plan the beam around the target, check drainage before installation and choose a fixture rated for the actual location. For a specific project, review AQ’s in-ground product specifications and installation instructions before selecting a well light.
FAQs
➜ Are in-ground lights and well lights the same?
The terms are often used for the same general type of recessed outdoor fixture. Check the product’s mounting style, rating and intended use rather than relying only on its name.
➜ Which beam angle works best for trees and walls?
A narrower beam can focus light on a tree trunk or a smaller architectural detail, while a wider beam can cover more of a wall or planting bed. Choose based on the target’s size and distance, and check the fixture’s specifications for available beam options.
➜ Can well lights be installed in a driveway?
Only if the specific fixture is rated for the expected vehicle load and installed according to the manufacturer’s instructions. A sturdy appearance alone does not confirm that it is drive-over rated.
➜ How can I keep plants from blocking in-ground lights?
Position fixtures where mature plants, fallen leaves, mulch, or snow are less likely to cover the lens or block the beam. Leave room to reach the fixture for cleaning and service, and consider how nearby plants may grow over time.
➜ Do in-ground lights need drainage?
Yes. The location should allow water to drain away according to the fixture’s installation instructions. Avoid spots that routinely flood or collect standing water.
➜ Can an in-ground landscape light be used underwater?
Not unless the manufacturer identifies that exact fixture for underwater use. A fixture designed for outdoor ground installation is not automatically a submersible light.
➜ What maintenance do outdoor well lights need?
Check the fixtures periodically for dirt, leaves, plant growth, or other debris that could block the lens or affect the light. Keep service connections accessible where the installation instructions require it, and follow the manufacturer’s guidance for cleaning and maintenance.