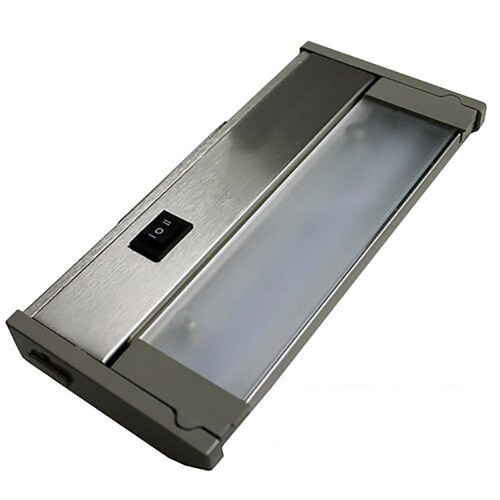
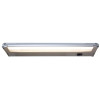
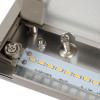
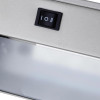
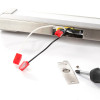
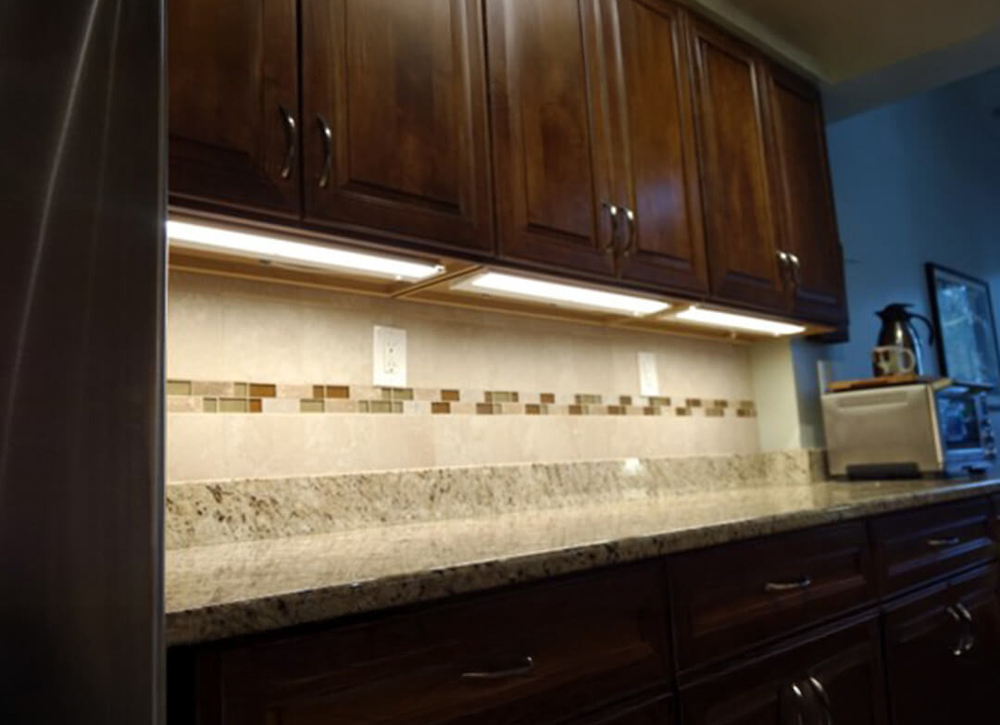
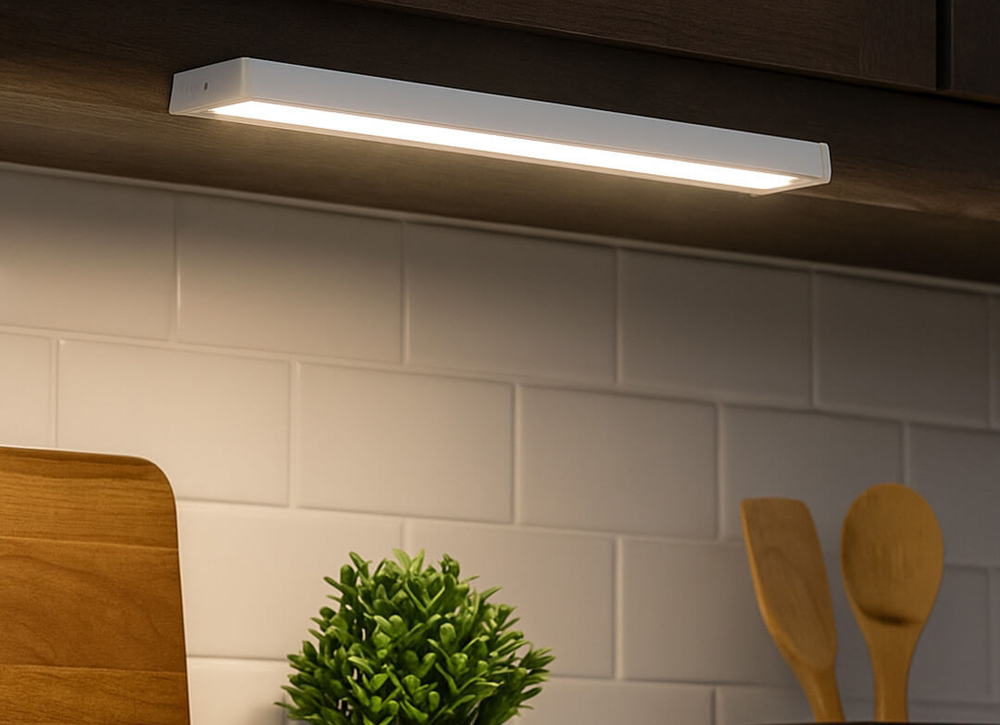
| UNDER CABINET LIGHTING | FULL RANGE DIMMABLE | HARDWIRE OR PLUG IN | 120V ENERGY STAR | STEEL CONSTRUCTION |
- Latest ultra-high output chip-on-board technology offers ultimate energy savings, light output and constant light color
- Even Light Distribution Technology means no more hot spots on shiny and polished marble or granite
- 2700K warm white color temperature with 90+ CRI, the absolute best in the industry
- Dimmable LED light bar, tested and works with incandescent, magnetic low voltage and electronic dimmers, AQL recommends Lutron electronics dimmers.
- High end steel construction with easy access knock-outs and tempered glass lens
- Hardwired or Plugged-In installation options
- Energy Star pending (In final approval process), cETLus Certified
- No heat output means no warping of cabinets

Our LED Technology
- Features dimming capabilities with most wall/box dimmers and a Hi/Low switch for non-dimming applications.
- 2700K Color Temperature (Warm White).
- Meets Title 24's requirement w/ 90+ CRI.
- Greater light output when compared to halogen/xenon fixtures.
- Perfect uniform lighting technology with even Light Distribution.
- Operational Lifetime of 50,000+ Hour
- cETLus certified / Energy Star qualified

Affordable Price for a Designer Fixture
Designer fixtures often come with a hefty price tag, but this under cabinet light bar offers impressive quality without breaking the bank. Available in stylish nickel and champagne finishes, it boasts a sleek appeal measuring less than 1 inch thick, making it easy to conceal. However, if you prefer it visible, this light bar will stand out as a stunning addition to your décor.
Easy Installation & Maintenance
- With all compenents being easy accessible, you won't have to remove the fixture.
- Features easy access knockouts located on top and back for hardwire installation.
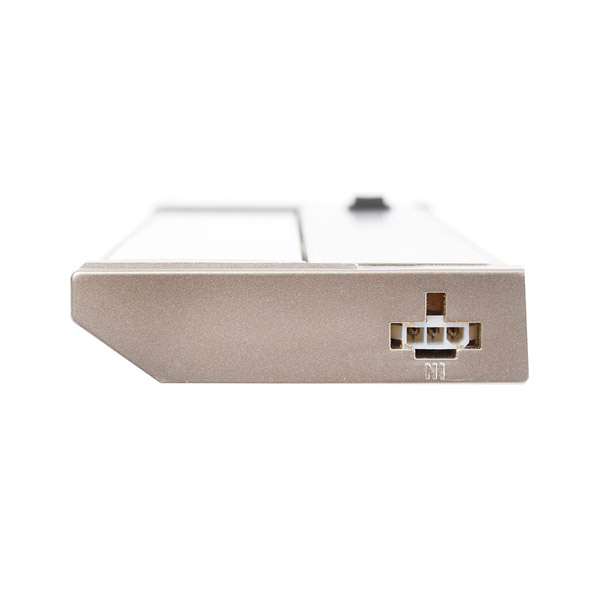
- No need for splicing or wire nuts thanks to the hardwire easy access panel with quick connectors.
- Chain together up to 20 units with our undercabinet lighting fixture.
- The Ready Screw Technology features pre-mounted screws allowing you to simply screw the fixture into the cabinet with ease.
- Shop jumpers in different lengths allowing you to run multiple units together without having to splice or hardwire.

Romex & Power Cord
- Power Cords available in either white or black color options to match your preference.
- Jumpers offered in either white or black in addition to different length options to match your application.
- Romex connection is heavy duty and allows for “to code” installations
| Material | Steel Housing / Glass Diffuser |
| Light Source | Chip on Board LED |
| Voltage | 120V |
| Power Draw | (8")3w/ (12")4w/ (18")8w/ (24")14w/ (32")18w |
| Light Output | (8")~265 Lumens/ (12")~350 Lumens/ (18")~530 Lumens/ (24")~710 Lumens/ (32")~945 Lumens |
| Color Temperature | Warm White (2700K) |
| CRI | >90 |
| Mounting | Surface |
| Wiring | Hardwire / Plug In |
| Switch Controller | High / Off / Low |
| Dimensions | 8" Length X 3.625" Wide X ~1" Tall |
| Certifications | Energy Star (pending) / ETL / cETL / 90+ CRI meets Title 24's requirements |
 Specification Sheet Download
Product Dimensions

AQUC Series: 120V LED Under Cabinet Light Bar Installation Instructions
Warning: These product may represent a possible electrical shock and/or fire hazard if improperly installed or attached in any way. Products should be installed in accordance with these instructions and with all current electrical codes and/or the current National Electric Code (NEC).
IMPORTANT: TO AVOID ELECTRIC SHOCK, DISCONNECT POWER PRIOR TO INSTALLATION!
Caution: Injury to person(s), damage to the fixture, and/or mounting surface may result if the fixture is pulled from the surface improperly. To reduce the likelihood of such injury / damage, mount on a surface that is mechanically and structurally sound.
Use only a mild soap and/or water with soft cloth to clean the fixture as harsh chemicals will damage the light fixture. Do not wipe the fixture with a rough cloth as it may scratch the fixture and/or lens.
Installation Method: Direct Wire
A single fixture or the first fixture in a lighting run is attached directly to the house wiring.
- Remove the lens cover from the fixture by lifting its back edge up gently and rotating it towards the front of the fixture. See Figure 1.
- Punch out whichever knockout is best suited for connection to the 120V supply wires. Knockouts are located along the back and top of the housing. See Figure 2.
- Detach the cover of the wiring compartment by rotating the plastic screws. See Figure 3.
- Install cable clamp and connect fixture wires following the National Electric Code and local building requirements. See Figure 4. AC supply wires to fixture lead-wires: Black to Black, White to White, Green / Bare Wire to Yellow / Green (Ground) inside the fixture. Secure each connection using the quick connector provided on the fixture lead wire. See Figure 5.
- Tighten the 2 captive screws to secure the fixture to the desired mounting surface.
- Replace the wiring compartment cover, securing the lip under the metal retaining tabs. See Figure 6.
ADDITIONAL NOTES:
- If your system has no ground wire, you should consult a qualified electrical technician before proceeding with the installation.
- Electric shock, overheating, low or no light output and/or shorten fixture life can result if proper grounding is not done.
- Be sure that the wires are not pinched or damaged by any part of the housing or cover.


Installation Method: Plug-In
A single fixture or the first fixture in a lighting run plugged into a nearby power outlet via power cord.
NOTE: Power cords are sold separately from the fixtures. (must be added on)
- Remove the lens cover from the fixture by lifting its back edge up gently and rotating it towards the front of the fixture. See Figure 1.
- Determine the desired mounting location for the fixture.
- Tighten the 2 captive screws to secure the fixture to the mounting surface.
- Replace the lens cover by tucking the front lip under the front edge and pressing down firmly along its entire length until secure. See Figure 9.
- Insert the power cord into the INPUT end of the fixture.
- Plug the 3 prong grounded plug into a 120V outlet receptacle.
Mounting the Fixture
NOTE: Lens cover must be off.- Determine the desired mounting location of the fixture and mark the location of the mounting holes (mark at the small end of each hole).
- Tighten the 2 captive screws to secure fixture to mounting surface.
- Replace the lens cover by tucking the front lip under the front edge and pressing down firmly along its entire length until secure. See Figure 7.
Connecting Multiple Fixtures Together
Plug ends of the end-to-end connector or interconnect linker wires into OUT power connection ports on adjacent fixtures. Fixture and connector ends are marked IN and OUT respectively; Be sure to route power in and out according to these markings. Up to 50 fixtures can be connected in series.

Additional Safety Measures
- Do not look directly at LED light source
- Do not touch the LED diodes.
- To avoid electrical shock, do not turn on fixture(s) with missing or damaged lens(es).
- There are no serviceable parts inside the LED module; Do not attempt to repair the unit.
- The power cord and extension jumper cables are not serviceable. Inspect periodically and replace if damage is detected.
- RISK OF FIRE: Keep fixtures away from curtains and other combustible materials.
- Suitable for indoor, dry locations only.
- This product is suitable for use in dimmable circuits. For best results (full range dimming), use a Lutron DV600P, DVCL-153P, DVEL-300P type dimmer switch.
Frequently Asked Questions
Under Cabinet Light Bar - AQUC
Is this hardwire install or does it come with a power cord?
The AQUC kitchen light bar can be purchased with a power cord or can be installed via hardwire.
Are LED Light bars compatible with a dimmer
Yes! This product can be paired with a dimmer for a smooth light output control.
Can I use this under bathroom cabinets too?
Yes, but this fixture is not rated for wet locations
What is the color temperature?
This LED light bar produces a warm white light
Does it have an on/off function?
Yes, it is installed with your electrical wiring system and can be turned on and off
How bright is this fixture or what is the light output like?
The AQUC LED light bar produces up to 945 lumens, depending on its size. The smallest light bar is 8" long and produces 265 lumens.
Can this be used over the kitchen range?
Although this light bar is not rated for wet locations, it can be installed over the cooking range as long as the steam and smoke are not directly hitting the light fixture.
Does this product come with a warranty?
Yes, the AQUC light bar comes with a one-year warranty.
Can I connect multiple light bars together for long countertops?
Yes, you can use jumper cables or hardwire to connect multiple light bars together. However, please make sure to not go over the suggested maximum wattage limit to avoid damaging the light fixture
Are the bulbs replaceable?
No, this fixture uses LED diodes which are not replaceable.
Does it come with power cord or hardwire?
This kitchen light bar can be ordered with a power cord or can be installed via hardwire.
Are the bulbs included?
Yes, the AQUC under cabinet lights comes with everything you need for a smooth installation.
How long does these lights last?
This LED kitchen light bar is rated for up to 50,000 hours or 4 years.
Does the light swivel or adjust?
No, the light output is in a fixed position.
Does this fixture get hot?
Since it uses LED light, the AQUC under cabinet kitchen light can run for hours without getting hot.

