Note: To make this puck light dimmable, you have to have a Dimmable DC Driver and a Compatible Dimmer Switch.
10 Watt Maximum! Using a Bulb Higher than 10 Watts Can Result in Overheating and Potential Damage to the Fixture
Note: The included driver for this kit allows dimming for ONLY Halogen Bulbs. For dimming LED bulbs, you will need a different driver. Please call 800-865-7221 for more details.
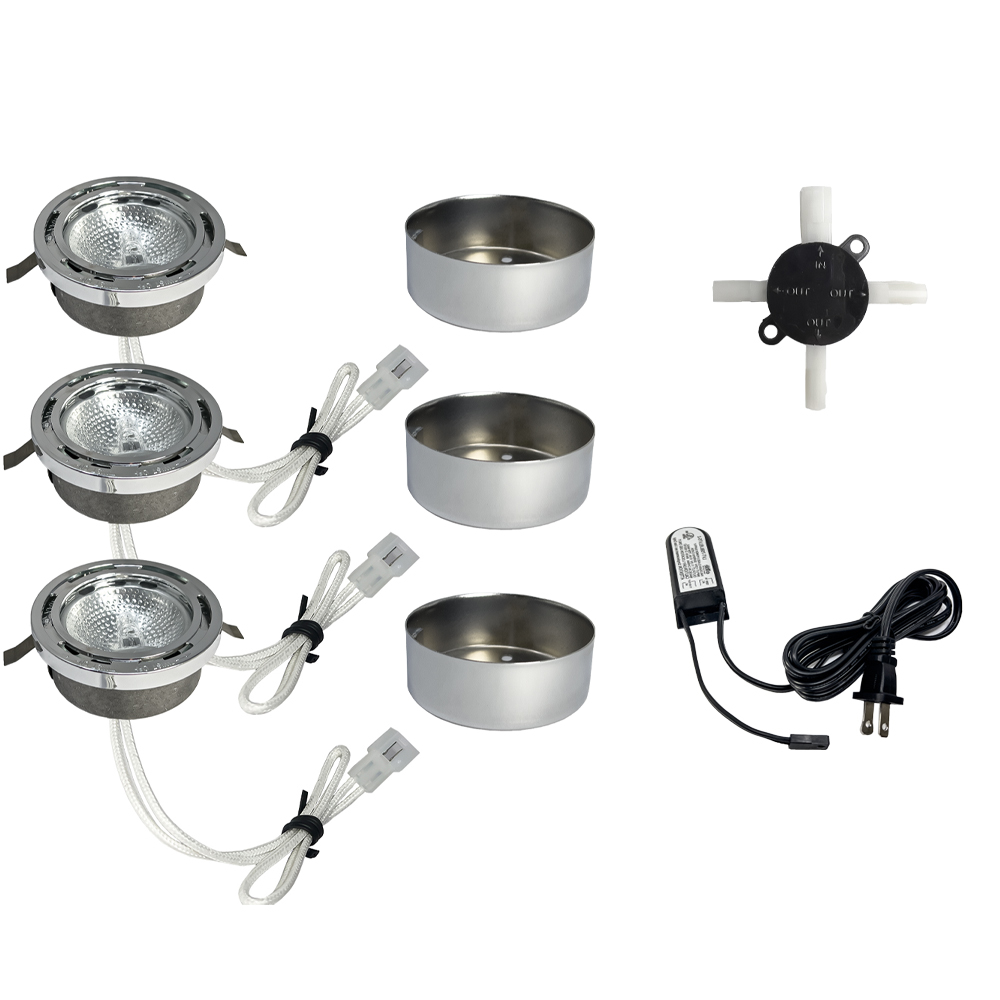
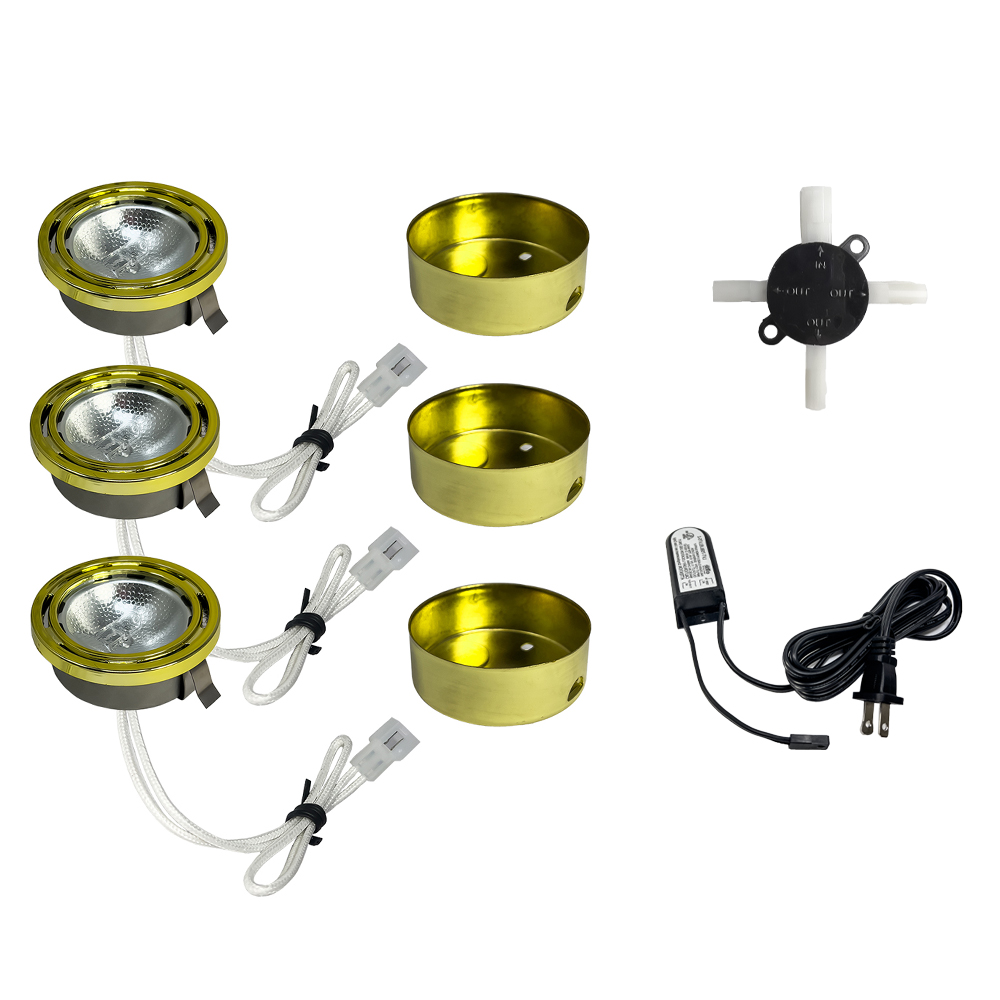
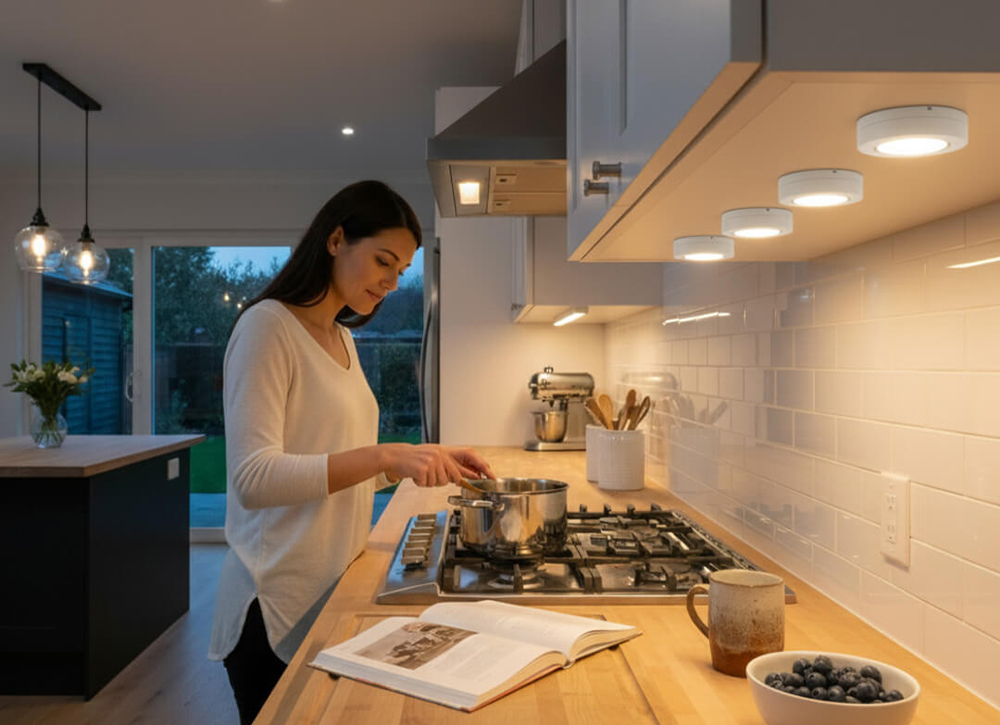
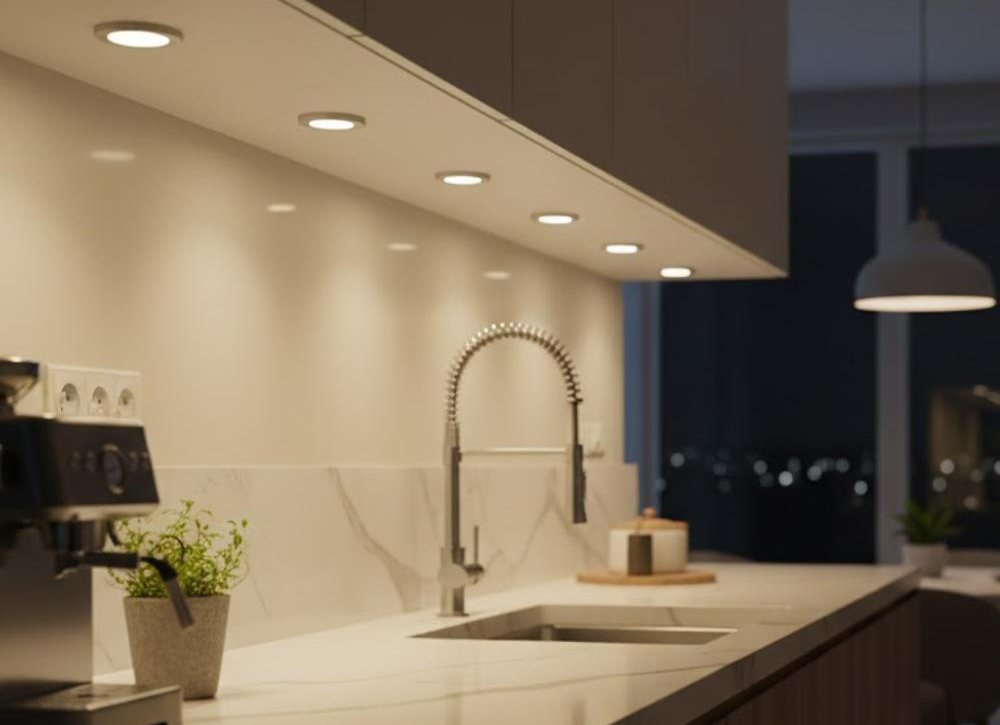
3 halogen puck light kit takes traditional halogen lighting and combines it with easy surface mounting installation for the perfect under cabinet kitchen lighting system. Able to mounted to just about any surface or in a recessed capacity, these puck lights are designed to be plug-and-play. The transformer plugs directly into any regular wall socket and connects directly to each of the 3 puck lights to create a string of circular lighting with its hammerhead full cup reflector. Compatible with AQL's supply of JC Bi-Pin LED light bulbs, you have the ability to achieve high energy savings for your kitchen. Contact the AQL sales team to see what our LED technology can do for you. Included with the kit is 60w plug in electronic transformer to power your system, which features a 6' cord. Upgrade to our LED bulb options for even better illumination and energy-savings.
-
Tried and True Lighting
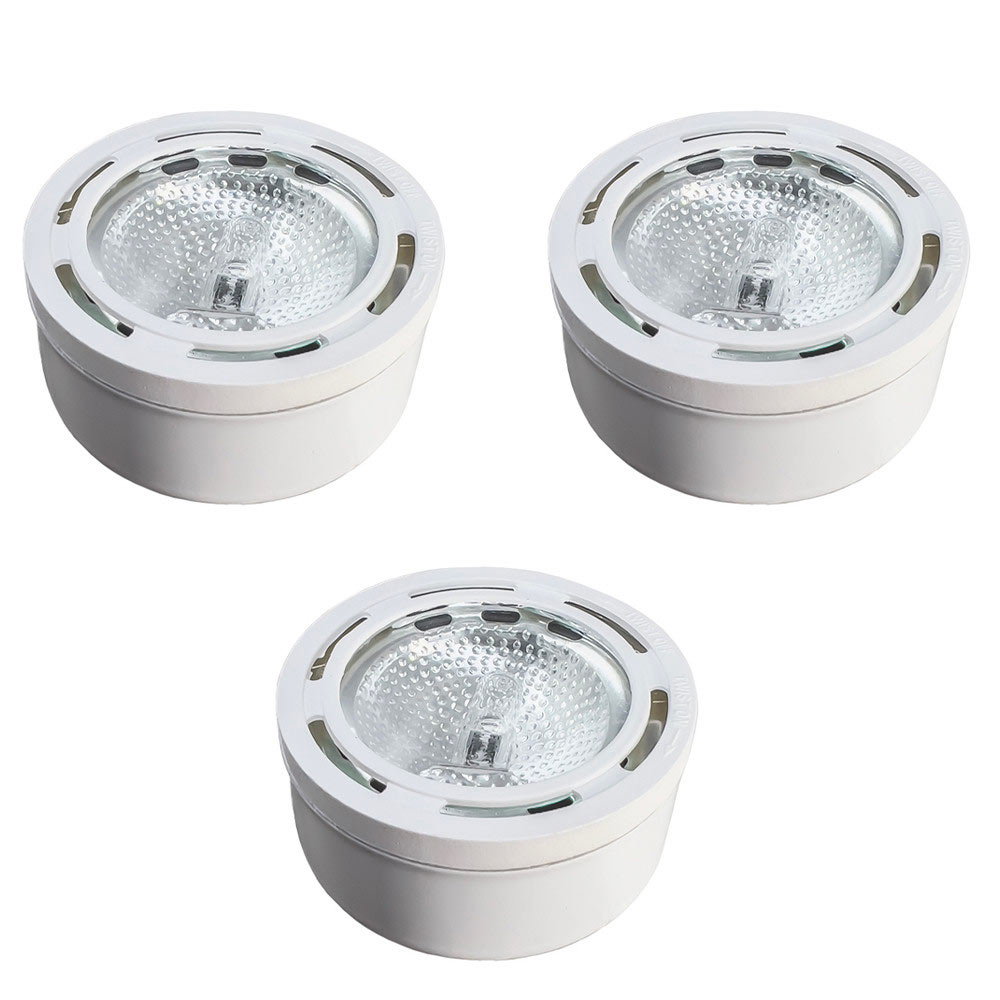
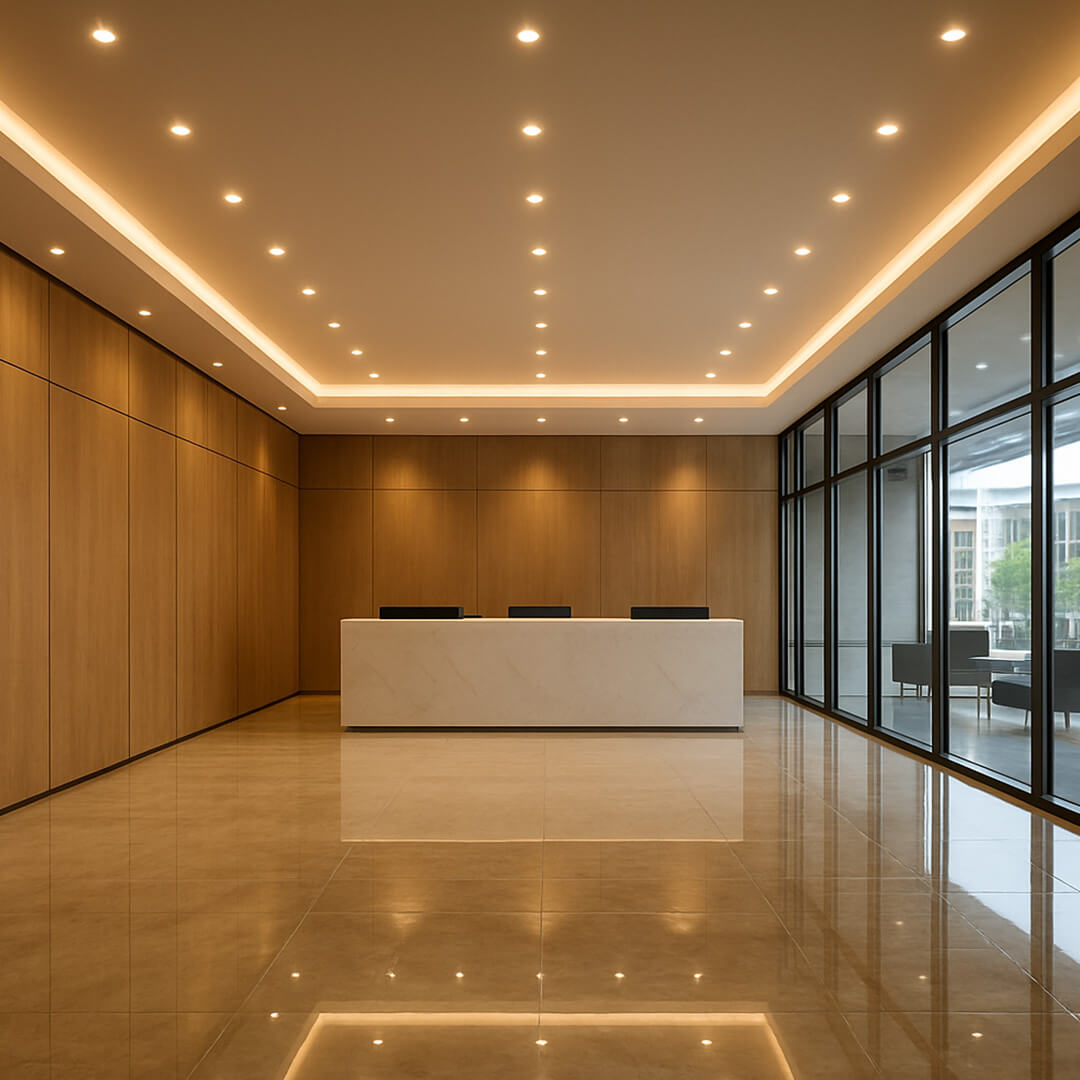
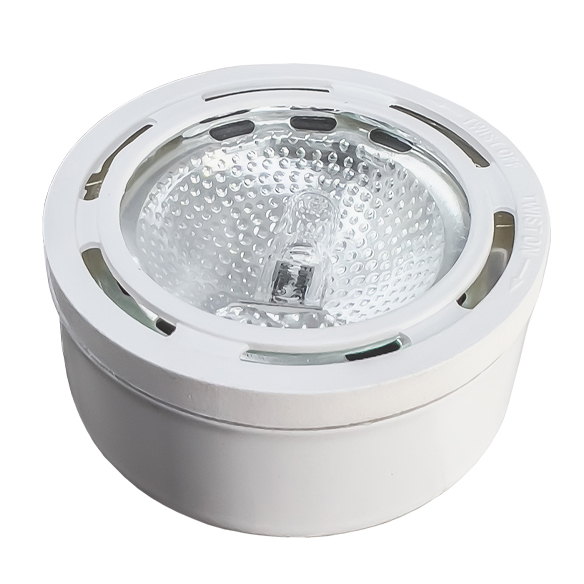
The CPK1 features traditional halogen light bulbs to create wide areas of inviting lights.Powered by 10w halogen JC Bi-Pin light bulbs and paired with our hammerhead reflector, all the light from each bulb is directed downwards to increase the maximum light output of the system.
-
Surface Mounting Cup
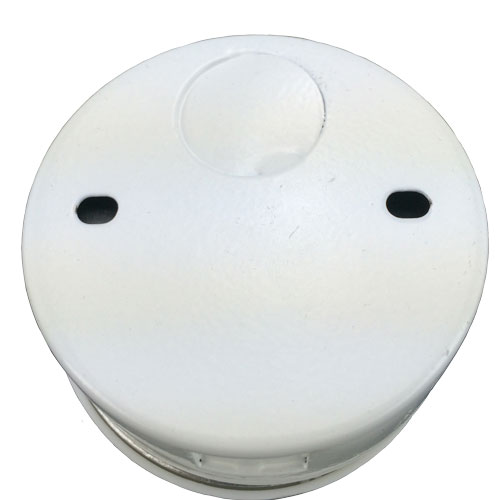
Mounting cup features 2 knockouts for different wiring options and comes with 2 mounting screws for cabinet and surface installations. Remove the cup from the bottom of the puck and mount to the desired surface with the included screws, then snap the puck back into the mounting cup after feeding the wiring through the side knockouts.
-

LED Bulbs
Choosing an LED bulb for your puck light is an ideal choice for modern and efficient lighting. This option will ensure long lasting brilliance at low energy costs.
-

Halogen Bulbs
With LED bulbs taking over the lighting scene, the materials used by lighting manufacturers typically don't account for the heat produced by traditional halogen bulbs anymore. This means using a halogen bulb with a modern fixture could potentially damage or melt the materials that house the bulbs. This puck light only supports halogen bulbs with a max wattage of 10W, anything greater could potentially melt the glass lens.
Note: To make this puck light dimmable, you have to have a Dimmable DC Driver and a Compatible Dimmer Switch.
10 Watt Maximum! Using a Bulb Higher than 10 Watts Can Result in Overheating and Potential Damage to the Fixture
Note: The included driver for this kit allows dimming for ONLY Halogen Bulbs. For dimming LED bulbs, you will need a different driver. Please call 800-865-7221 for more details.
3 halogen puck light kit takes traditional halogen lighting and combines it with easy surface mounting installation for the perfect under cabinet kitchen lighting system. Able to mounted to just about any surface or in a recessed capacity, these puck lights are designed to be plug-and-play. The transformer plugs directly into any regular wall socket and connects directly to each of the 3 puck lights to create a string of circular lighting with its hammerhead full cup reflector. Compatible with AQL's supply of JC Bi-Pin LED light bulbs, you have the ability to achieve high energy savings for your kitchen. Contact the AQL sales team to see what our LED technology can do for you. Included with the kit is 60w plug in electronic transformer to power your system, which features a 6' cord. Upgrade to our LED bulb options for even better illumination and energy-savings.
-

Tried and True Lighting
The CPK1 features traditional halogen light bulbs to create wide areas of inviting lights.Powered by 10w halogen JC Bi-Pin light bulbs and paired with our hammerhead reflector, all the light from each bulb is directed downwards to increase the maximum light output of the system.
-

Surface Mounting Cup
Mounting cup features 2 knockouts for different wiring options and comes with 2 mounting screws for cabinet and surface installations. Remove the cup from the bottom of the puck and mount to the desired surface with the included screws, then snap the puck back into the mounting cup after feeding the wiring through the side knockouts.
-

LED Bulbs
Choosing an LED bulb for your puck light is an ideal choice for modern and efficient lighting. This option will ensure long lasting brilliance at low energy costs.
-

Halogen Bulbs
With LED bulbs taking over the lighting scene, the materials used by lighting manufacturers typically don't account for the heat produced by traditional halogen bulbs anymore. This means using a halogen bulb with a modern fixture could potentially damage or melt the materials that house the bulbs. This puck light only supports halogen bulbs with a max wattage of 10W, anything greater could potentially melt the glass lens.

